
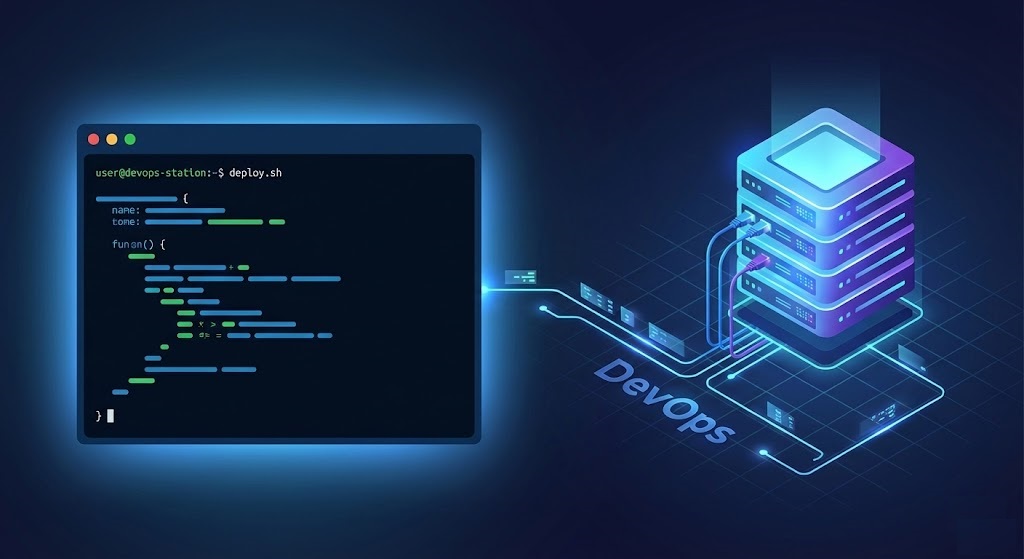
Building a DevOps Sandbox: How to Learn Linux on a Free VPS
You can watch endless tutorials on YouTube, buy expensive Udemy courses, and read thick textbooks, but you will never truly learn Linux until you break something. The fear of “messing up” your personal computer often holds beginners back from experimenting with the command line.
This is where a Free Virtual Private Server (VPS) becomes your most valuable learning tool.
A free VPS acts as a “Sandbox”—an isolated environment where you can execute dangerous commands, install complex software, and crash the system without any real-world consequences. If you delete a critical system file, you simply click “Rebuild” in your cloud dashboard and start over in minutes. It is the ultimate safe space for failure.
In this comprehensive guide, we will walk through a roadmap of three essential projects you can build today on a free cloud server to jumpstart your DevOps career. We will move beyond the basics and touch on real-world industry standards like SSH Key hardening, Firewalls, and Containerization.
Why a Remote VPS is Better Than a Local Virtual Machine
Many introductory courses recommend installing VirtualBox or VMWare on your laptop. While valid, this approach misses a crucial component of modern tech: Networking.
When you use a remote VPS (from providers like Google Cloud, AWS, Oracle, or Azure), you are forced to deal with the messy reality of the internet:
- Latency: Learning how to work when the terminal isn’t instant.
- Firewalls: Understanding ports (80, 443, 22) and ingress/egress rules.
- Public Exposure: The realization that bots are scanning your IP address 24/7 (and how to stop them).
- DNS Propagation: How domain names actually connect to servers.
These are the exact challenges you will face in a professional IT environment. Mastering them now gives you a massive advantage over candidates who have only ever coded on localhost.
Project 1: Mastering SSH and Server Hardening
Your first task isn’t to install a website or a game server; it is to secure the front door. By default, when you spin up a VPS, you often log in as the root user with a password. In the professional world, this is a massive security risk.
The Goal: Disable password logins entirely and rely on cryptographic keys.
Step 1: Generate an SSH Key Pair
On your local computer (not the server), open your terminal (Command Prompt or PowerShell on Windows) and run:
ssh-keygen -t rsa -b 4096You will be asked where to save the key. Press Enter to accept the default location. You will now have two files: a private key (never share this) and a public key (this goes to the server).
Step 2: Upload the Key to Your VPS
We need to tell the server to trust your computer. Use the following command, replacing the IP address with your VPS IP:
ssh-copy-id [email protected]You will be asked for the root password one last time. Once successful, try logging in again:
ssh [email protected]If it logs you in without asking for a password, your keys are working!
Step 3: The “Scary” Part (Disabling Passwords)
Now we will edit the server’s configuration to reject all password attempts. This stops brute-force hackers cold.
- Open the SSH config file:
nano /etc/ssh/sshd_config - Find the line that says
PasswordAuthentication yesand change it tono. - Find
PermitRootLogin yesand change it toprohibit-password(or create a new user and disable root entirely for extra credit). - Save the file (Ctrl+O, Enter) and exit (Ctrl+X).
- Restart the SSH service:
service ssh restart
Congratulations. You have just secured a Linux server. If a hacker doesn’t have your specific file on their hard drive, they cannot get in, no matter how much computing power they use.
Project 2: The Web Server (Nginx & Firewalls)
Now that you are in, let’s make the server do something useful. We will install Nginx (pronounced “Engine X”), a high-performance web server used by Netflix, Airbnb, and Uber.
Step 1: Update and Install
Linux software comes from “repositories.” Always update your list before installing anything to ensure you get the latest security patches.
apt update && apt upgrade -y
apt install nginx -y
Step 2: Configure the Firewall (UFW)
If you visit your server’s IP address now, it might refuse to connect. This is likely because the firewall is blocking Port 80 (HTTP). Ubuntu uses UFW (Uncomplicated Firewall).
ufw allow 'Nginx Full'
ufw enable
Note: If you are on Oracle Cloud or AWS, you must also open Port 80 in their respective “Security Lists” or “Security Groups” in the web dashboard.
Step 3: Create Your Own Page
By default, Nginx shows a generic “Welcome” page. Let’s hack it. The file lives in /var/www/html/index.html.
rm /var/www/html/index.html
nano /var/www/html/index.html
Paste in some simple HTML:
<h1>Hello World!</h1>
<p>This site is hosted on my free VPS.</p>
Save and refresh your browser. You are live.
Project 3: Introduction to Containerization (Docker)
Modern DevOps is all about containers. Docker allows you to package applications so they run anywhere—from your laptop to a massive Kubernetes cluster—without changing a line of code.
Can you run Docker on a free VPS? Yes, but with limits. Docker adds overhead. On a standard 1GB RAM free tier instance (like AWS or Azure), you should stick to lightweight containers. On Oracle Cloud’s ARM instances (24GB RAM), you can run dozens of containers easily.
Step 1: Installing Docker
Run this convenient script to install the engine:
curl -fsSL https://get.docker.com -o get-docker.sh
sh get-docker.sh
Step 2: Your First Container
Let’s run the classic test. This command downloads a tiny image, creates a container, runs it, prints a message, and exits.
docker run hello-worldStep 3: Running a Service
Let’s try something cooler. We will run a second web server inside a container, but mapped to a different port (8080) so it doesn’t conflict with Nginx.
docker run -d -p 8080:80 --name my-docker-web nginxNow, if you visit http://Your-IP:8080, you will see a fresh Nginx page served from inside the container. You are now running a microservice architecture.
Essential Commands Cheat Sheet
As you explore, you will need to navigate the system. Memorize these five commands to survive in the terminal:
htop: An interactive task manager. Use this to see if your free VPS is running out of RAM. (You may need to runapt install htopfirst).df -h: Checks disk space usage. Vital for free tiers with small 10GB-30GB drives.tail -f /var/log/nginx/access.log: Watch web traffic hit your server in real-time. It’s mesmerizing (and useful for debugging).history: Forgot that complex command you typed five minutes ago? This lists everything you’ve typed.sudo: “SuperUser Do.” If the server says “Permission Denied,” puttingsudoin front of the command is the magic word (use responsibly).
Common Beginner Mistakes to Avoid
1. Ignoring Updates
Linux servers are secure, but only if patched. Running outdated software on a public IP is asking to be hacked. Make it a habit to run apt update && apt upgrade once a week.
2. Losing Your SSH Key
If you disabled password logins (Project 1) and then lose your private key file (or delete your computer), you are locked out forever. Always backup your keys to a USB drive or a private cloud storage folder.
3. Forgetting the “Cloud Firewall”
If you opened a port in Linux (UFW) but still can’t connect, 99% of the time the issue is the provider’s external firewall. Check the AWS Security Group, Oracle Security List, or Google Cloud Firewall Rules.
Conclusion: What’s Next?
Once you have completed these three projects, you are no longer a beginner. You have successfully navigated SSH, configured a production-grade web server, and deployed a container.
Where do you go from here?
- Buy a Domain Name: Learn how to point a domain (DNS) to your VPS IP using “A Records.”
- Secure with SSL: Use a tool called “Certbot” to install a free Let’s Encrypt SSL certificate, turning your HTTP site into HTTPS.
- Automate it: Write a simple Bash script to update your server automatically every Sunday.
The cloud is your playground. The best way to learn is to try, break, and rebuild.