How to Run Ubuntu on VirtualBox: The 2026 Beginner's Guide
So, you've heard about Linux. You want to see what the hype is about—maybe learn some terminal commands or host a server—but you're terrified of accidentally wiping your Windows hard drive. I get it. I've been there.
The solution? VirtualBox.
Think of VirtualBox as a computer inside your computer. It allows you to run Ubuntu in a safe, isolated window. If you break something inside Ubuntu, you just delete the file and start over. Your main computer remains completely untouched. In this guide, I'll walk you through every single click.
1. Gather Your Tools
Before we start hacking away, we need to download two main files. Don't worry, they are both 100% free.
2. Create the Virtual Machine
Install VirtualBox like you would any other program. Once installed, open it up. You'll see a mostly empty grey window. Let's fix that.
Step-by-Step:
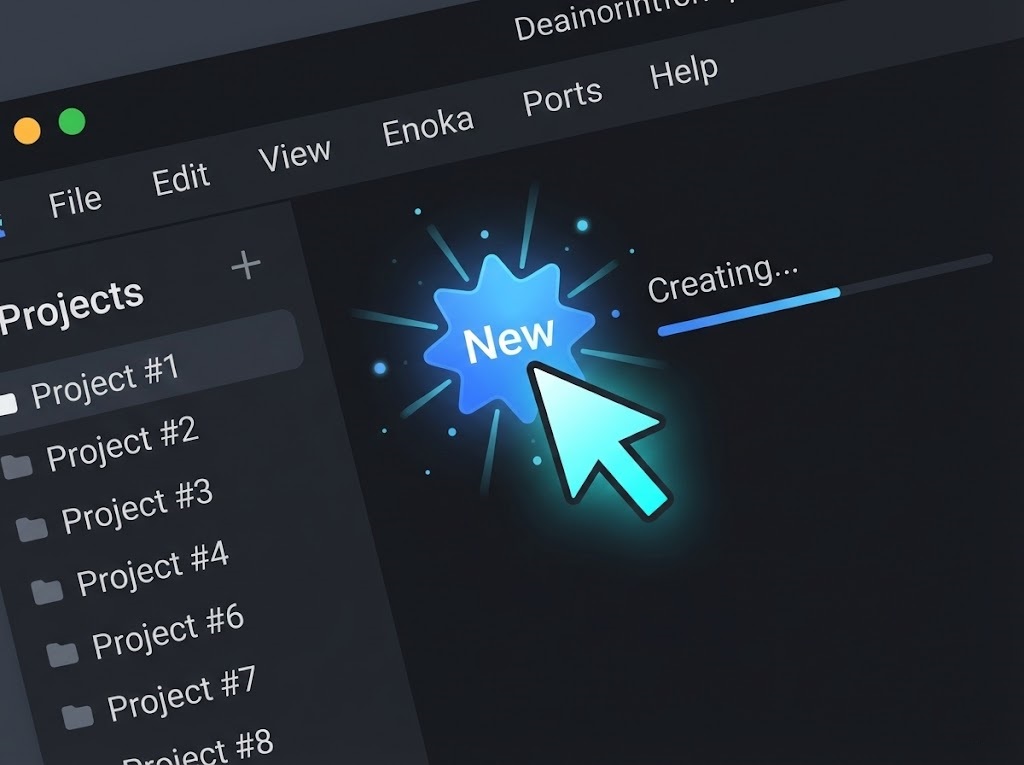
- Click the big blue "New" star icon in the toolbar.
- Name: Type "Ubuntu". VirtualBox is smart—it will automatically detect the Type as Linux and Version as Ubuntu (64-bit).
- ISO Image: Click the dropdown and select "Other...", then find the Ubuntu `.iso` file you downloaded in Step 1.
- Check the box that says "Skip Unattended Installation". (Trust me on this, the unattended installer often glitches. We'll do it manually to be safe.)
3. Allocate Resources (RAM & CPU)
Now we need to decide how much power to give your virtual machine. Think of this as slicing a piece of your actual computer's power cake to feed Ubuntu.
- Base Memory (RAM): I recommend at least 4096 MB (4GB). If you have 16GB or 32GB on your PC, feel free to give it 8GB. Do not go into the "Red" zone on the slider.
- Processors (CPU): Give it at least 2 CPUs. Ubuntu runs sluggishly on 1 core.
Create Virtual Hard Disk
On the next screen, it asks for a Hard Disk. The default 25GB is usually fine for testing. Click Next and then Finish.
4. Install Ubuntu
Your VM is created, but it's "turned off." Select your new Ubuntu VM on the left list and click the big green Start arrow.
A window will pop up. It might look like Matrix code for a few seconds—that's normal! Eventually, you will see the Ubuntu installer.
- Select Install Ubuntu.
- Keyboard Layout: Pick your language.
- Updates and other software: Select Normal Installation. I also highly recommend checking "Install third-party software for graphics and Wi-Fi hardware"—this includes drivers for MP3 playback and video.
- Installation Type: Select Erase disk and install Ubuntu. DON'T PANIC! This only erases the "Virtual Hard Disk" we created in Step 3. It does NOT erase your actual Windows hard drive.
- Click Install Now -> Continue.
- Pick your Timezone and create your User Account (Username/Password).
Now, grab a coffee. The installation will take 10-15 minutes.
5. The Secret Sauce: Guest Additions
Once the install is done, you'll restart the VM. You might notice the screen is small, square, and won't resize to full screen. It feels laggy. This is because we are missing drivers.
We need to install VirtualBox Guest Additions.
The Easy Way:
- In the VirtualBox window menu (top left), go to Devices -> Insert Guest Additions CD image...
- Inside Ubuntu, a CD icon will appear on the left dock. Click it.
- Right-click inside the folder window and select "Open in Terminal".
- Type the following command and hit Enter (you will need your password):
sudo ./VBoxLinuxAdditions.runLet it run. Once it says "Press Return to close this window," restart your VM one last time.
Boom. Now you can resize the window, copy-paste between Windows and Ubuntu, and enjoy smooth performance.
Troubleshooting Common Issues
Things don't always go smoothly. Here is how to fix the most common headaches users face in 2026.

Error: "VT-x/AMD-V hardware acceleration is not available"
The Fix: This means Virtualization is disabled in your computer's BIOS. Restart your real computer, enter BIOS (usually F2, F10, or Del key), and enable "Intel Virtualization Technology" or "SVM Mode" (for AMD).
Black Screen on Boot
The Fix: Shut down the VM. Go to Settings > Display. Increase Video Memory to 128MB. Also, try unticking "Enable 3D Acceleration" if it's currently on.
Internet Not Working in Ubuntu
The Fix: By default, VirtualBox uses "NAT". If this fails, go to Settings > Network and change "Attached to" from NAT to Bridged Adapter. This treats the VM like a real device on your WiFi.
"Kernel driver not installed (rc=-1908)"
The Fix: This happens on macOS often. You need to go to System Preferences > Security & Privacy and "Allow" Oracle America to load software. Then reinstall VirtualBox.
Conclusion
Congratulations! You are now running a full Linux desktop inside your computer. You can browse the web, learn Python, or set up a web server.
If you're ready to take this to the next level and run a server online that your friends can actually join, check out our Free Game Server Hosting for a real challenge.